Configuring Android Studio
Setting up Android Studio is usually a one-time process. Android Studio is the interface used between the code and robot.
https://developer.android.com/studio
You will need a GitHub account with access to the Murray-Bridge-Bunyips organisation (or to use the MBHSRobotics shared account).
For MBHS Student Robotics Club members, you can follow this guide in the shared drive to get your account set up. Note you will need a mentor to add you to the organisation
and add your user to the BunyipsFTC GitHub team if not using the shared account.
First-time setup
For new laptops, you will need to Clone Repository of URL: https://github.com/Murray-Bridge-Bunyips/BunyipsFTC.
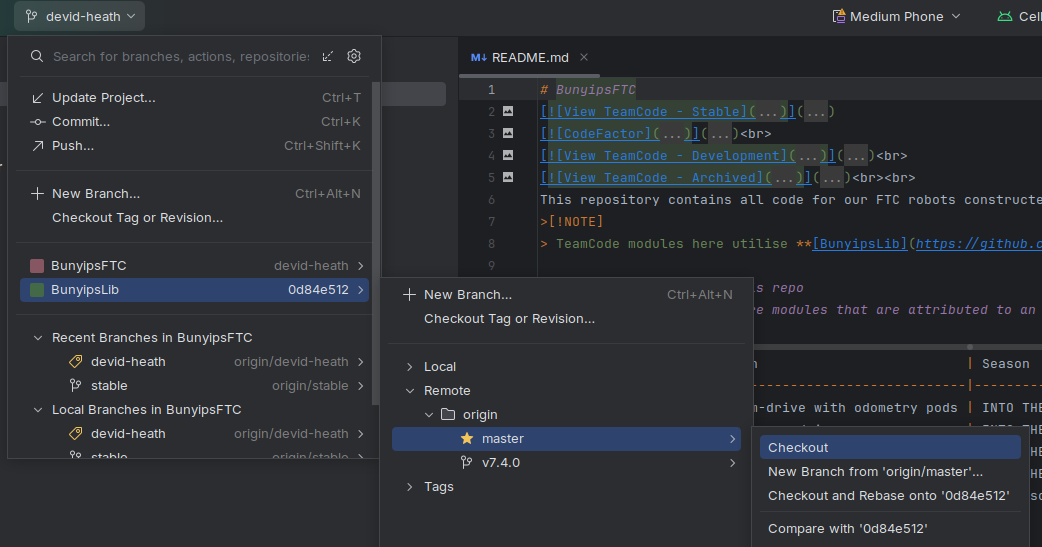
Once the project is loaded, you must change the branch you are on. To do this, click stable in the top left:
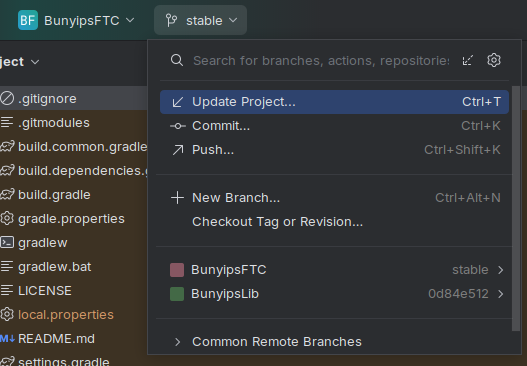
Then, press stable >:
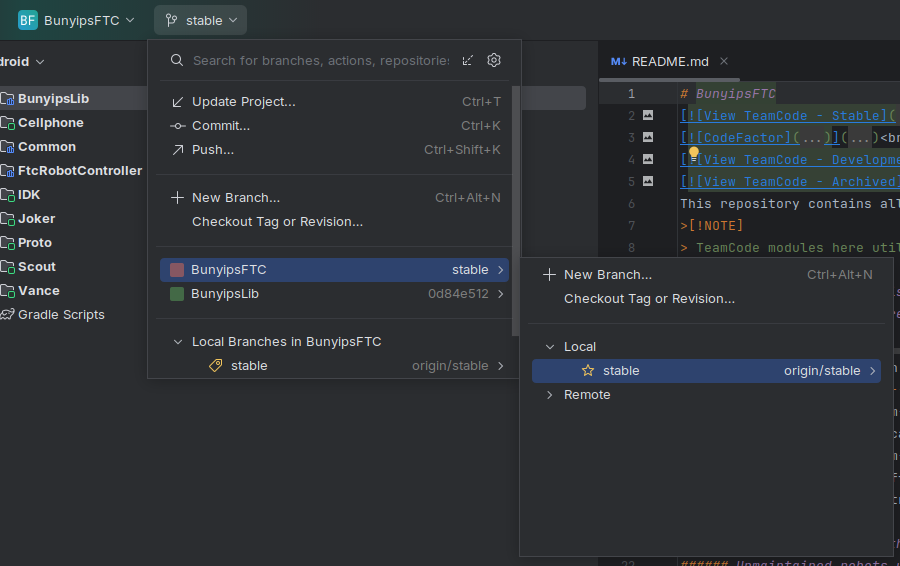
Open Remote, origin, devid-heath and click Checkout.
You are now on the development branch of BunyipsFTC. You can now Commit and Push your changes from Android Studio to upload them to the cloud.
Configuring BunyipsLib
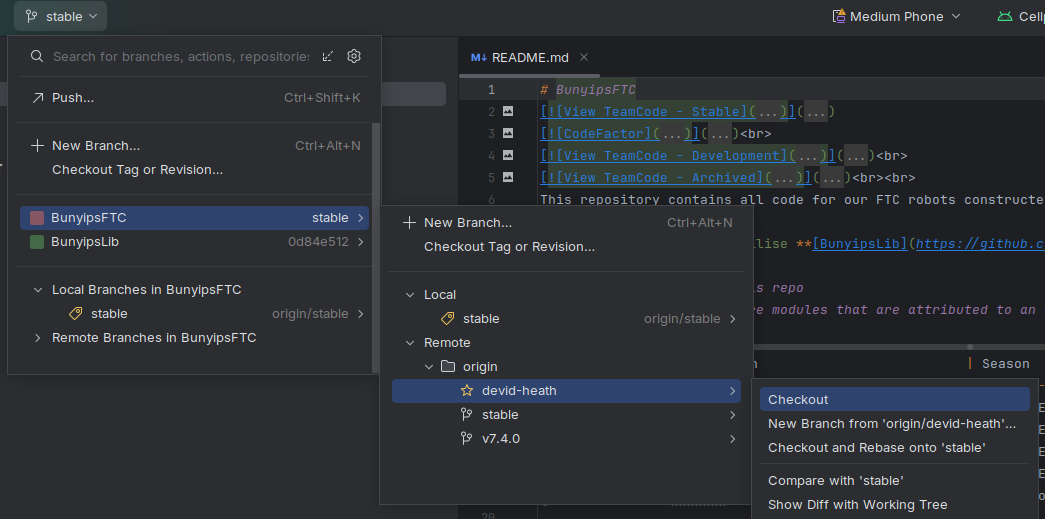
Before you proceed with programming, you will also need to change to the latest commit (master branch) of BunyipsLib.
Open the branch menu shown before, and this time click on BunyipsLib. Open Remote, origin, master, and click Checkout.
Your computer is now configured to use BunyipsFTC. These steps do not need to be repeated for this computer.
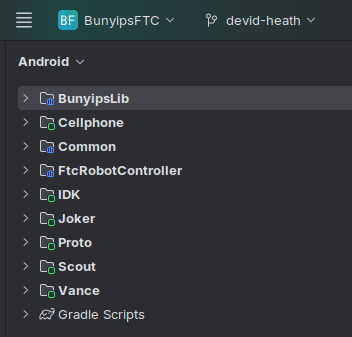
Once Gradle completes syncing (you can manually initialise a sync with Ctrl+Shift+O), the Android view on the left should display robot files.